Monday, January 30, 2012

Football Whoopie Pies

My very dear friend K,  has a precious little boy who just turned one. She has been planning his sports themed birthday party for months now and included me on the Pinterest board for birthday ideas. I happened to run across these football shaped whoopie pies and pinned it. Then I asked if I could please make them for the party and would she let her guests be my guinea pigs. K was sweet enough to let me. Yay! My dear friend gave me a reason to try out a new recipe.


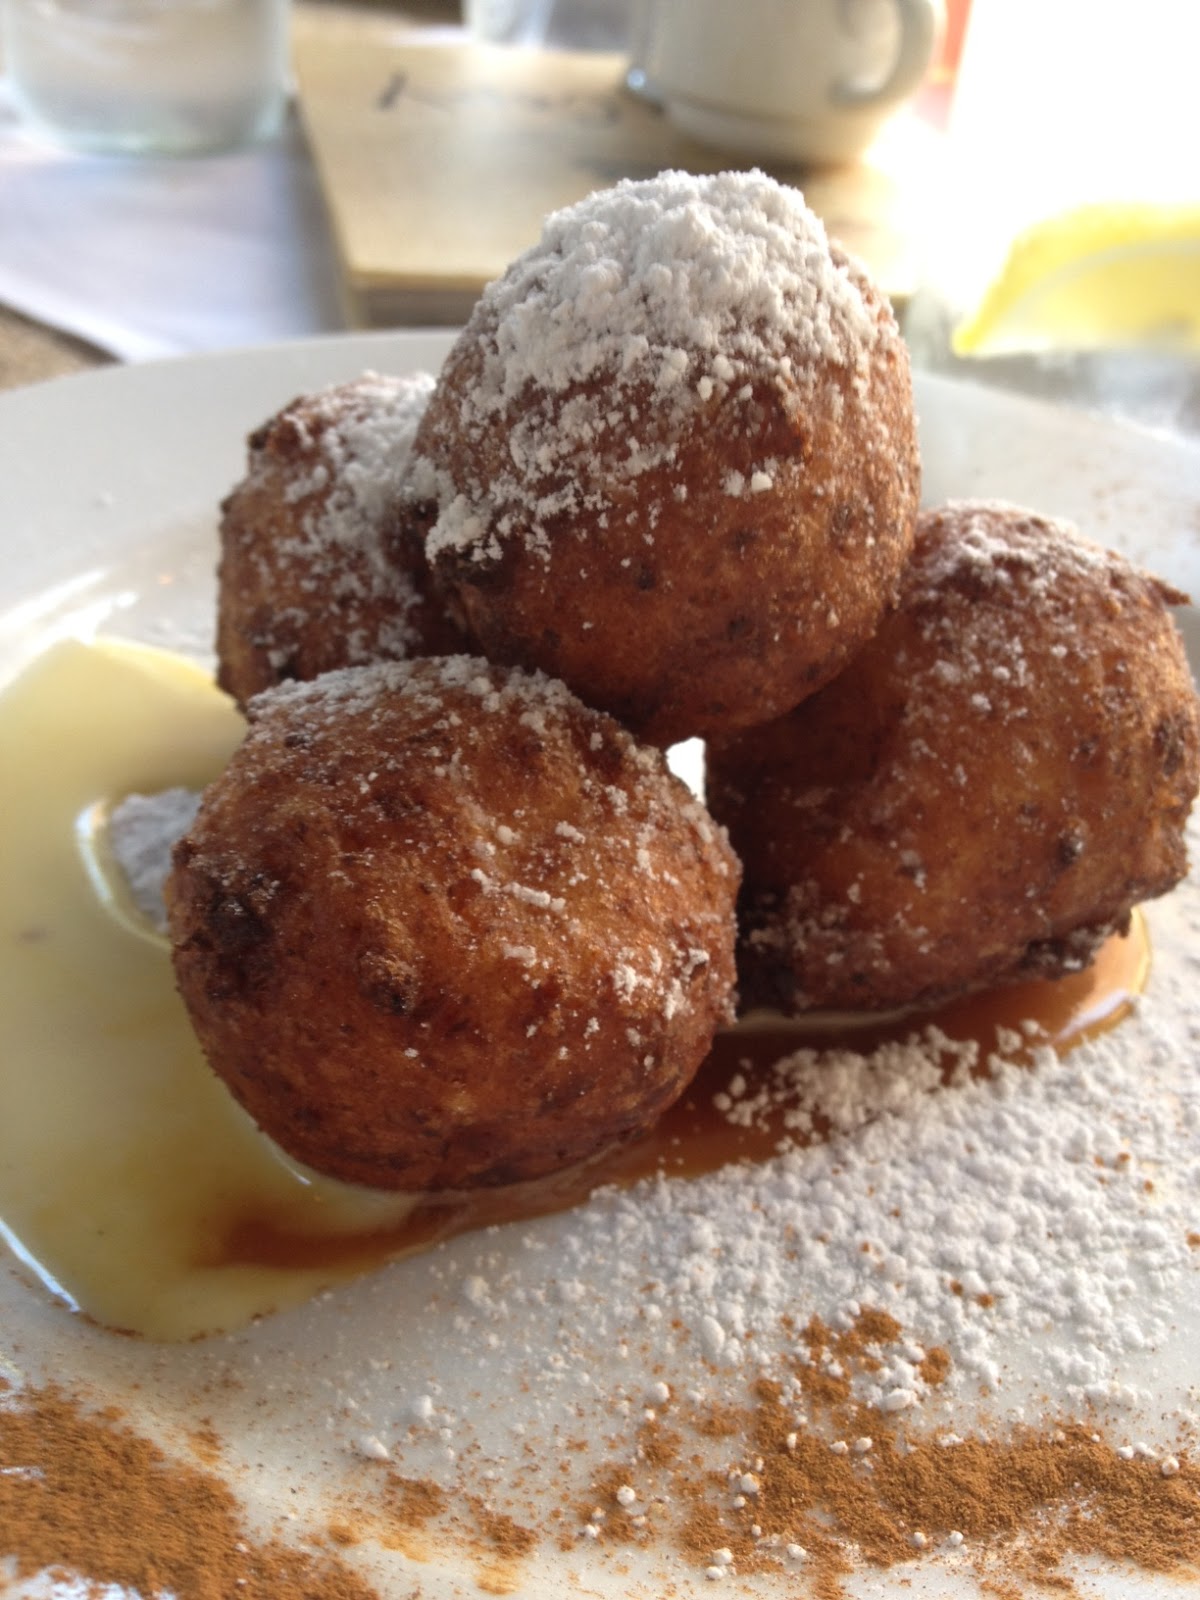
My little one enjoying a whoopie pie at his friend's 1st birthday party.


The recipe is adapted from Jenny Steffens Hobick's recipe. It is really very simple.

Ingredients for the Cake Part of the Whoopie Pies
  • 1 box chocolate cake mix
  • 3 eggs
  • 1/2 cup of water
  • 1/2 cup of oil
Directions for Baking the Whoopie Pies
  • Combine all of the ingredients on low for about 2 minutes.
  • Spoon about 1 1/2 tablespoons of batter onto a silpat liner or parchment paper. I have a 3 tablespoon ice cream scooper I use for cupcakes and cookies. I filled that up half way.
  • Use the back of a spoon or knife or offset spatula to shape the batter into footballs. 

  • I also made templates onto parchment paper. It was just a guide. 
  • Bake for 7-9 minutes on 350. 
  • Test doneness by inserting a toothpick or knife into the whoopie pie. If it comes out clean, it's done.
  • Let the cake cook all the way before icing.


Buttercream Ingredients
  • 2 sticks of room temperature butter
  • 3 cups of powdered sugar
  • 1/4 teaspoon salt
  • 1/2 teaspoon vanilla extract
  • 1/4 teaspoon meringue powder
Buttercream Directions
  • Mix butter on low in your stand mixer for 1 minute
  • Add one cup of powdered sugar at a time into the butter while the mixer is on low.
  • Add the salt, vanilla, and meringue powder.
  • Mix on medium for 6 minutes.
  • The buttercream should be light, fluffy, and white. You'll see.

    Time to Assemble the Footballs
    • You don't have to pipe the buttercream onto the whoopie pies but I think it's easiest. If you don't have piping bags and tips in your kitchen, just put the buttercream in a sandwich baggie and cut a small hole in the corner of the baggie. 
    • Pipe the buttercream onto the flat side of the whoopie pie and then sandwich it with another flat side. The round sides should be on the outer sides of your whoopie pie. I think these should be called whoopie cakes. Not at all pie.


    The Royal Icing Laces
    • 2 cups powdered sugar
    • 1 tablespoon meringue powder
    • 2-5 tablespoons warm water
    Directions: Start with just two tablespoons of water, the powdered sugar, and meringue powder. Mix it all on low for two minutes. If it looks thick and dry, add another tablespoon of water and mix again for two minutes. Keep up this process until the royal icing appears matte and will be be easily piped.
    Again, you can use a piping bag and a small tip or a sandwich baggie and a tiny hole.

    The finished product.

    Thursday, January 26, 2012

    Disney Body Pillows (Morena Blvd Costco)

    I found a deal too good to pass up today while I was at Costco. These pillows are only $6.97, marked down from $14.99!!! Not too bad.

    I tried to convince him to get the one with Finn McMissile. Nope. He loves his Lightning.
    Winnie The Pooh is not shown but he's there too.

    Wednesday, January 25, 2012

    Weekend Brunch at The Ramos House Cafe in San Juan Capistrano


    Two of my oldest and dearest friends live in Orange County. They are San Diego natives so they get points for that. We weren't able to celebrate the holidays together because of life and work schedules and miles, so we got together a week into the new year at this great little cafe in San Juan Capistrano. Sarah, who suggested we have brunch at The Ramos House Cafe, said that it was so good it would definitely make my blog. Yep, it was The Good Life worthy for sure. 


    The Cafe offers a weekend brunch menu. It's $35 for a drink, a starter, and a main dish. If you're not too hungry you can opt for another drink but I wanted to taste this menu. 

    I started with a glass of champagne and ended with one more. 


    For my starter I ordered apple cinnamon beignets. Oooooooh, they were so good. They were warm and soft and cinnamony, delish. 


    I ordered the country fried chicken scramble and waffles as my main dish. This was one of those dishes that has every flavor. There were sweet currants and crunchy tiny potatoes and savory chicken and flavorful waffles. I was so happy I ordered it.

    This is one of those places that I can't wait to go back to. If you live in San Diego, it's only an hour drive or you can take a scenic train ride up the coast to San Juan Capistrano. The cafe is right next to the train station. 

    The restaurant was very intimate and super cozy. All dining is on their covered patio. And since it gets a little chilly, they have warm blankets for their patrons in addition to heaters. It's really too cute. 

    I think when I go pack I'm going to try their sweet corn hush puppies with sweet pepper jam as a starter and either the strawberry basil pain perdu or the flannel hash with fried poached eggs as the main dish. Yummmmm. And of course I'll have champagne. 

    Jill and Sarah's meals were delicious as well. 


    Tuesday, January 24, 2012

    Mexican Hot Chocolate Cupcakes


    Mexican hot chocolate traditionally is a cinnamon, vanilla, sugar, and semi sweet chocolate drink. I thought that I could transform the drink into a spicy cupcake.

    I started with a chocolate cake mix, added the normal eggs, oil, and water. Then I added sour cream because I knew it would not only make it tender but it would also make it stronger. The cake tends to crumble less when I add sour cream. To make it Mexican, I added cinnamon. I also wanted it to be spicy so I carefully measured out a teaspoon of cayenne pepper. I added ginger because I love how ginger can add a warmth to the overall flavor.

    They turned out nicely. The cupcakes were tender and moist and delicioso. You can add or subtract the spices depending on your tolerance for heat. Next time, I just might add a little more cayenne. Enjoy!

    Ingredients for the Cake
    • 1 Box of Chocolate Cake Mix
    • 3 eggs
    • 1 1/4 cup water
    • 1/2 cup oil
    • 3/4 cup sour cream
    • 1/2 teaspoon dried ginger
    • 1 teaspoon cayenne pepper
    • 2 teaspoons ground cinnamon
    Directions for the Cake
    • Combine eggs, water, oil, and sour cream well.
    • Add cake mix, ginger, cayenne pepper, and cinnamon.
    • Mix until smooth.
    • Line cupcake pans with cupcake liners.
    • Divide the batter evenly between the molds. I use a ice cream scooper to take out the guess work.
    • Bake for 15-18 minutes on 325.
    • To make sure your cakes are baked through, insert a toothpick or knife into a cake. If it comes out clean then it's done.


    Ingredients for the Buttercream
    • 1 cup butter
    • 3/4 cup shortening 
    • 3 1/4 cups powdered sugar
    • 1/2 teaspoon salt
    • 1 teaspoon vanilla extract
    • 1 teaspoon ground cinnamon
    Directions for the Buttercream
    • In a stand mixer or using a hand mixer, combine butter and shortening and mix on medium until smooth.
    • Add the powdered sugar 1 cup at a time on low speed.
    • Once the sugar and butter are combined, add salt, vanilla, and cinnamon.
    • Beat the buttercream on medium for 7 minutes. It will be much fluffier after 7 minutes.
    • After the cupcakes have cooled thoroughly, frost however you'd like. I like piping the buttercream onto the cupcakes. It's so pretty.

    Garlicky Drunk Chicken

    This is an easy recipe. I swear it. It's perfect for week nights because it takes little prep work.
    And if you love garlic, this is the meal for you.
    You're going to need a dutch oven or a big pan with a lid.

    Ingredients
    • about 8 pieces of chicken. I used thighs.
    • 4 tablespoons of oil
    • salt and pepper
    • 20 cloves of garlic. It sounds like a lot but it's not, trust me.
    • 1.5 cups white wine (I use cheap chardonnay)
    • 3 teaspoons of Italian seasoning
    Directions
    • Heat the oil over medium heat.
    • Season the chicken with salt and pepper.
    • Brown the chicken on all sides.
    • Remove the chicken from the pan.
    • Smash the garlic with the flat side of your chef's knife.
    • Add the smashed garlic to the oil and lightly brown. Don't let it burn because it'll taste bitter.
    • Then add the Italian seasononing and white wine.
    • My favorite part: Deglaze the pan with the liquid. That means scape all of the bits of chicken and garlic from the bottom of the pan using the wine with a wooden spoon or a rubber spatula.
    • Add the chicken back to the pot, reduce to a simmer, and cover the pot with a lid for 20 minutes. 
    Serve with rice and veggies, enjoy!


      Recipe was adapted from the cookbook "A Decade of Cooking; The Costco Way." The recipe was called "Gilroy's Finest Saucy Garlic Chicken."

      Thursday, January 19, 2012

      Lunch at Burlap


      Hello San Diego Restaurant Week! This is the time to try new places and get a sweet deal at the same time. Can't pass this opportunity up. The last SDRW was extended for a second week. I'm hoping the powers that be make that happen again.

      This light installation was my favorite.
      My husband and I visited Burlap, Brian Malarkey's "Asian Cowboy" restaurant, located in Del Mar. Not only was the theme present in the food but it was repeated in the design of the space. There were a myriad of dragons and there was burlap lining the walls. I thought the service was outstanding. Our server was polite and professional. Loved that. I also appreciated that he was wearing a holster, how very cowboy.


      From the SDRW menu, I ordered the Field Green salad, the Drunken Ducken bahn witch mi, and carrot cake. The salad was great, a combination of persimmons, goat cheese, nuts, and a sweet vinaigrette. Good, right? The bahn witch mi (sandwich) was delicious. Instead of an ordinary chicken salad sandwich, they served a duck salad. It was mixed with port cherries (drunken), macadamia nuts, and brown butter aioli, no plain mayo here. It was sweet and savory and crunchy and velvety. So many textures in just one sandwich. The carrot cake was tasty as well, no surprise. It was very light and flavorful. The pieces of sweet pineapple and crispy cashew brittle provided a nice variety of textures and flavors and was a welcomed departure from the norm.

      I can't wait to come back. I think next time I'm going to try the Phramen Bowl. Check it out for yourself.


      Thursday, January 12, 2012

      Tuna, Spinach, and Apple Salad

      I eat a lot of spinach and sometimes I eat spinach salads a few days in row. I would probably eat them everyday considering how nutrient dense spinach is but after so many days of eating it, it makes my teeth feel really weird. It's difficult to explain but I know I'm not the only one who feels this way. My dear friend Drea and soon to be the most sought after family photographer in San Diego, complains of the same feelings. I looked it up and it's because of something called oxalic acid. Blah blah blah.... I want to know if I can disguise this feeling without cooking my spinach.

      I set out to make a salad today, nothing special just whatever is in my fridge. I happened to have spinach, apples, tuna, and romaine. Normally I would just mix tuna and mayo and put that on top of the spinach with chopped apples. Today, I tried something a little different.


      Ingredients
      • 5 cups of raw spinach
      • 1/4 cup of mayonnaise
      • 7 ounces of tuna
      • 1 large apple
      • 1 head of romaine lettuce
      Directions
      • Chop the spinach until it's very fine. It should measure 1 1/2 cups after it's chopped.
      • Combine mayo and tuna. Use more or less mayo depending on your preference.
      • Combine the tuna and mayo mixture and the chopped spinach until it's well blended.


       You can serve this two different ways. 

      Directions for Tuna Salad Rolls
      • Lay out one leaf of romaine with some of the spine trimmed.
      • Slice the apple and lay two slices of apple on the whole leaf.
      • Add two tablespoons of the tuna and spinach mix to the apple.
      • Roll and secure it with a toothpick.


      Directions for Tuna Salad on Romaine
      • Chop up one head of romaine lettuce.
      • Dice one apple.
      • Add the tuna and spinach mixture to the romaine and top with apples.
      • Toss with more mayonnaise or whatever dressing you like. 


        This recipe should feed two hungry people or three modestly hungry girls. LOL!  You know what I mean.  I could still feel the grittiness from the spinach but not as much. I think I disguised it somewhat. Also, I packed a ton of spinach into a salad. Yeah, nutritious lunch.

        Friday, January 6, 2012

        Sam The Cooking Guy's Beer Bread

        My best friend's 10 year old son has become interested in baking. He's been DVRing episode's of Sam The Cooking Guy and texting his mom for ingredients when he's interested in making something. After he made his first batch of potato chip cookies, he was hooked on baking.

        Today I picked him up from school so he could help me make cookies and candy for his class's bake sale. He was talking up Sam The Cooking Guy and how easy the bread looked to make and how much his dad would love it. So I suggested that we google the recipe (click the link for Sam's recipe) and make it if I have the ingredients. Well of course I had all of the ingredients.


        Ingredients
        • 3 cups self rising flour*
        • 3 tablespoons sugar
        • 12 ounces of flavorful room temperature beer
        *Just a note about self rising flour... If you have all purpose flour you can make it self rising. For one cup of all purpose flour, add 1.5 tsp baking powder and 0.5 tsp salt.


        Directions
        Preheat oven to 350. Whisk together all of the dry ingredients. Gradually add the beer to the flour mixture and combine well. If you find that the batter is too dry, add a tablespoon of milk. That should help. Pour the batter into a parchment paper lined or greased loaf pan. Bake for 45-50 minutes. Allow it to cool on a rack.

        You guys will enjoy this. It smells really sweet and retains so much of that delicious beer flavor. The outside is crispy and the inside is chewy. Perfection! Enjoy!

        Waffles for Dessert for Breakfast

        I made a breakfast date with a dear friend of mine. I thought this would be a good opportunity to try out a recipe for Belgian waffles coated in chocolate and topped with whipped cream. I was right.
        What did you have for breakfast?

        You could start this out one of three ways. You could 1) make these bad boys from scratch. Check out allrecipes.com for a phenomenal recipe. You could 2) make them from a box of Krusteaz. Thirdly, you could buy frozen waffles and warm them up in your toaster. Not a bad option if you ask me.

        I opted for making them from a box. At first I was going to make them completely from scratch but then I fast forwarded to all the baking I have to do this afternoon for a bake sale this weekend and the Krusteaz was on sale for only $2.50. My decision was made and it was the right one.

        To make 2-3 7 inch waffles you need
        • 1 egg
        • 3 tablespoons of oil
        • 3/4 cup water
        • and of course the Krusteaz mix
        The directions on the box say to whisk everything up until it's smooth. So, I did all of that and then poured the mix in the waffle iron. Each waffle cooked for about 3 minutes on medium high.

        Now the fun part, chocolate and whipped cream. To make the ganache you will need
        • 2/3 cup chocolate chips, whatever kind you have in your cupboard
        • 1/3 cup heavy whipping cream
        Heat the cream in the microwave until you see bubbling. You cannot walk away. Then pour the cream over the chocolate chips and stir. What you have made is ganache, something very fancy sounding and immensely delicious but easy. Nice, right?

        Lastly you are going to top your waffles with a dollop of whipped cream. I used Cool Whip. It's what I had in my refrigerator so why not.

        Enjoy!!!! 

        Thursday, January 5, 2012

        Deal Alert at Target

        I found these super cute booties at Target in Mission Valley. They were about $9. Run down and grab a pair before they are sold out.
        P.S. If you need slippers, there are a ton and they are all on clearance.

        Tuesday, January 3, 2012

        Savory Lemon Ricotta Bread


        I hope everyone had a wonderful holiday. I know I did. We spent time with our families and ate and ate and drank and traveled. I'd say that's successful.

        I stumbled across a recipe for a quick bread on Williams-Sonoma that looked easy and delicious. I thought I would use it as inspiration for something original. Another success! It's buttery, slightly lemony, and a little crumbley. May I suggest serving this bread warmed up with an egg over easy and bacon? Home run!

        Ingredients
        • 1 3/4 cup flour
        • 2 tsp baking powder
        • 1 tsp baking soda
        • 1/2 tsp salt
        • 1 stick of room temp butter
        • 3/4 cup ricotta cheese
        • 1 tsp lemon zest
        • 1/4 tsp lemon extract
        • 1/4 cup milk
        • 6 ounces of Greek yogurt
        • 1 egg
        Directions 
        • Whisk together flour, baking powder, baking soda, and salt.
        • In a separate bowl mix butter, ricotta cheese, zest, and extract.
        • Add the milk, egg, and yogurt to butter mixture and mix well.
        • Combine wet and dry ingredients and pour into a loaf pan.
        • Bake at 350 degrees for 45 minutes. Insert a toothpick into the center of the bread. When it comes out clean, the bread is done.
        • Let cool on a wire rack in the pan for 15 minutes and then remove from the pan and let it cool completely on the rack.